Assets
This section explain how to manage assets in Nedoto.com.
Create a new asset
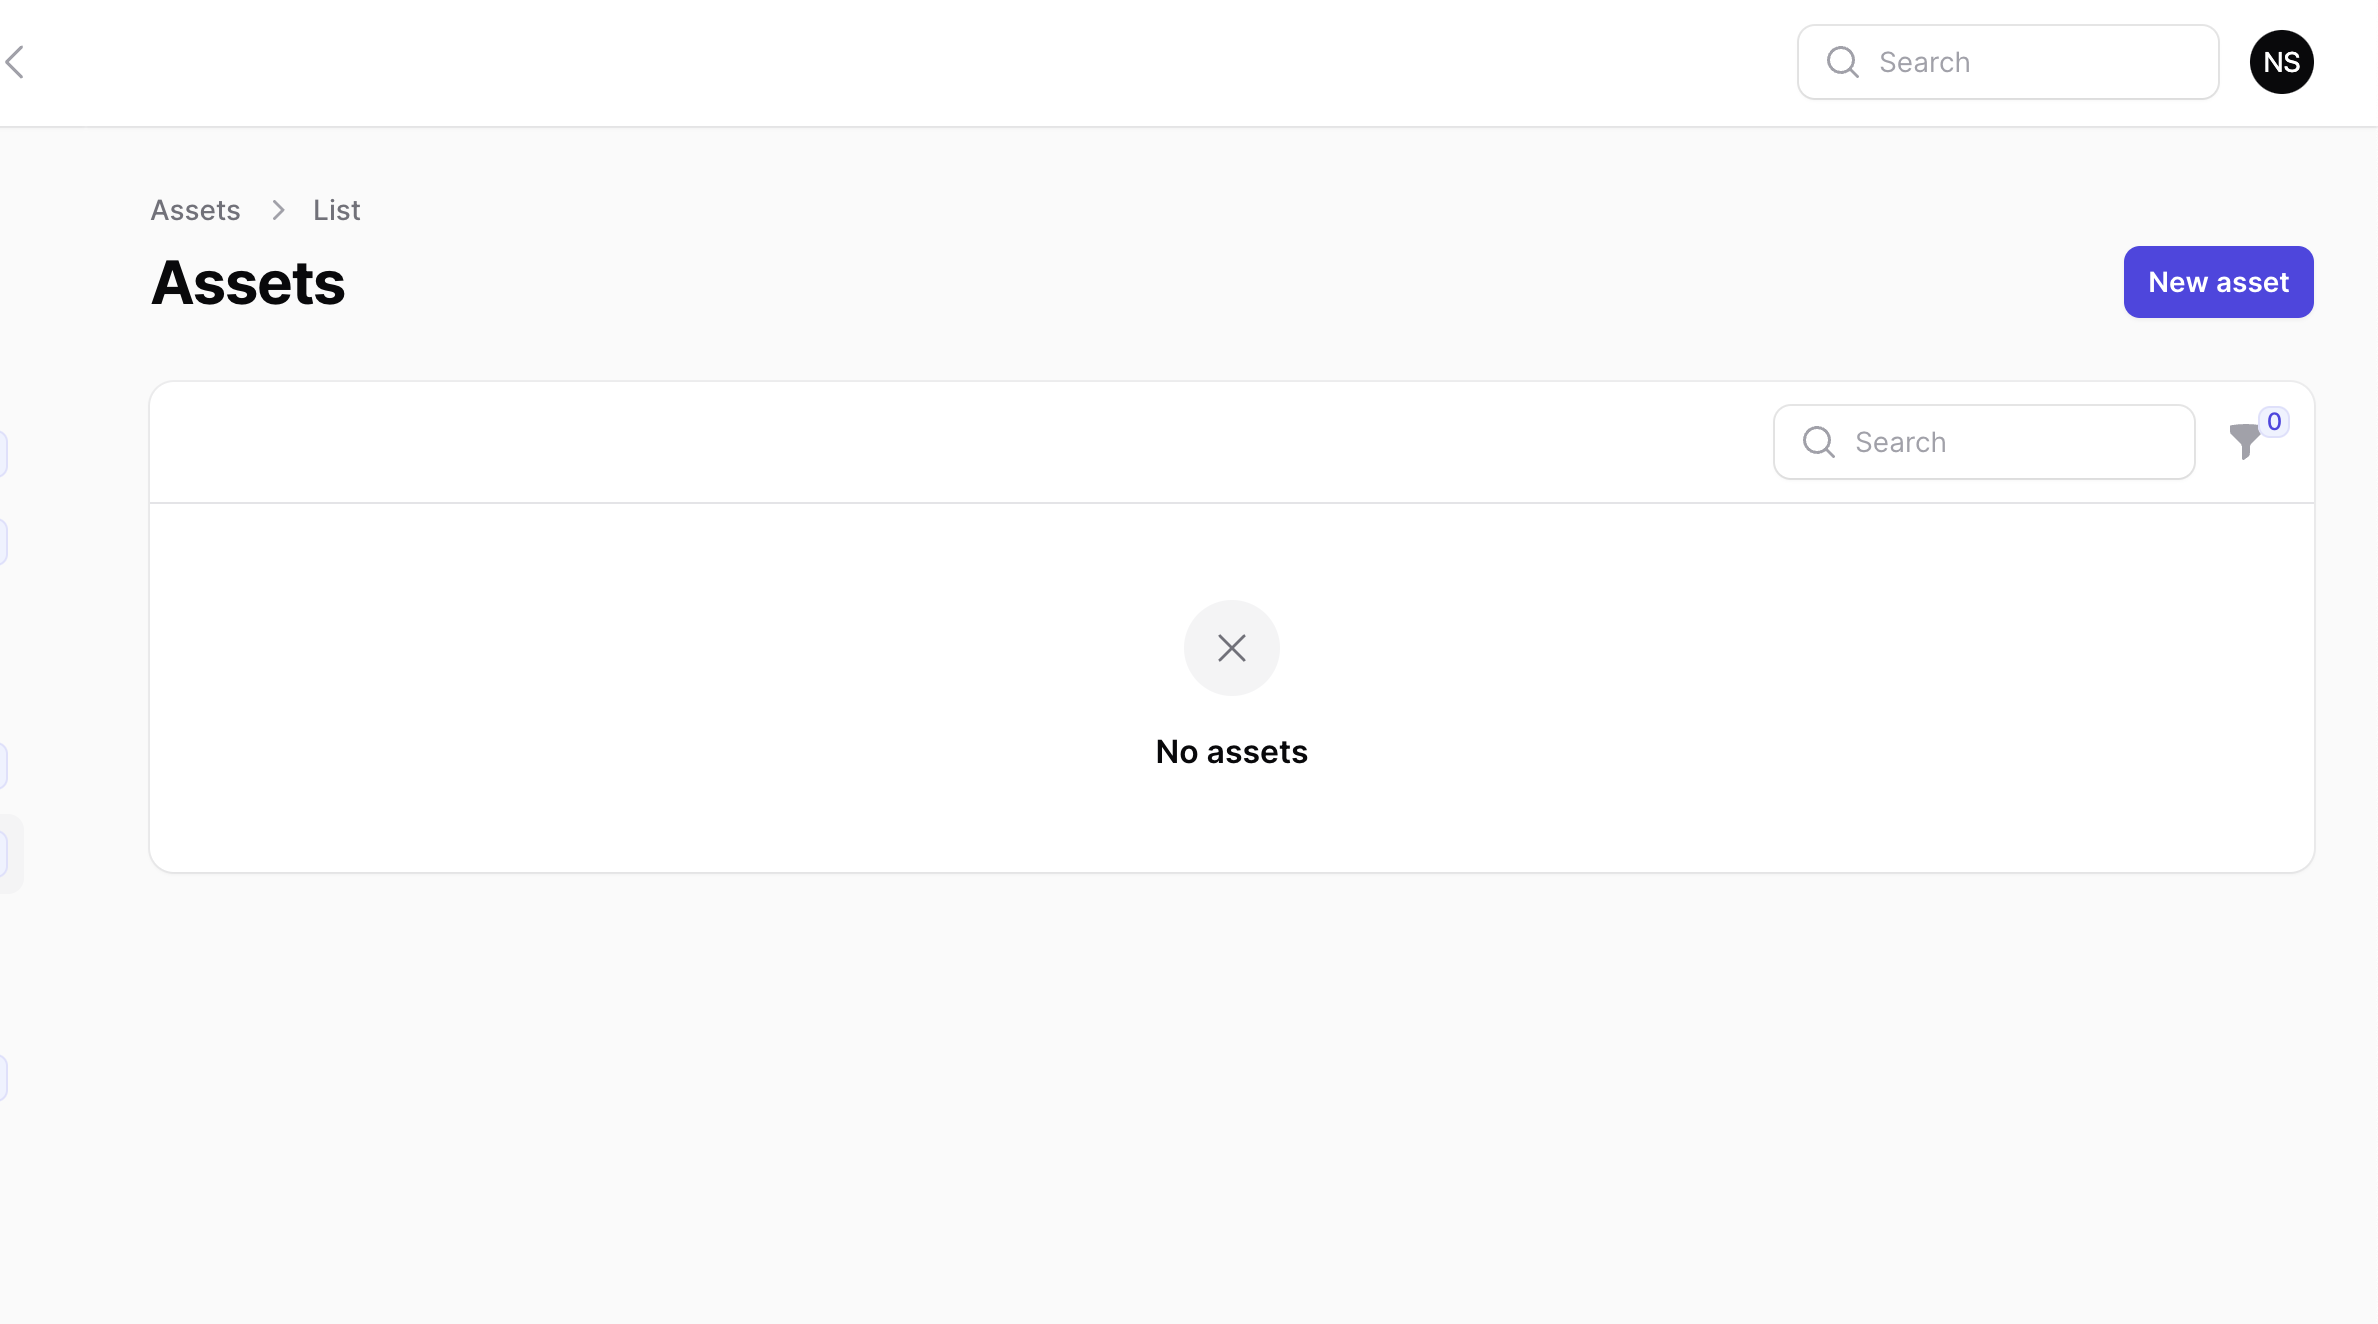
The first time you use Nedoto, you won't have any asset.
To create a new asset, click on the purple "New asset" button at the top right.
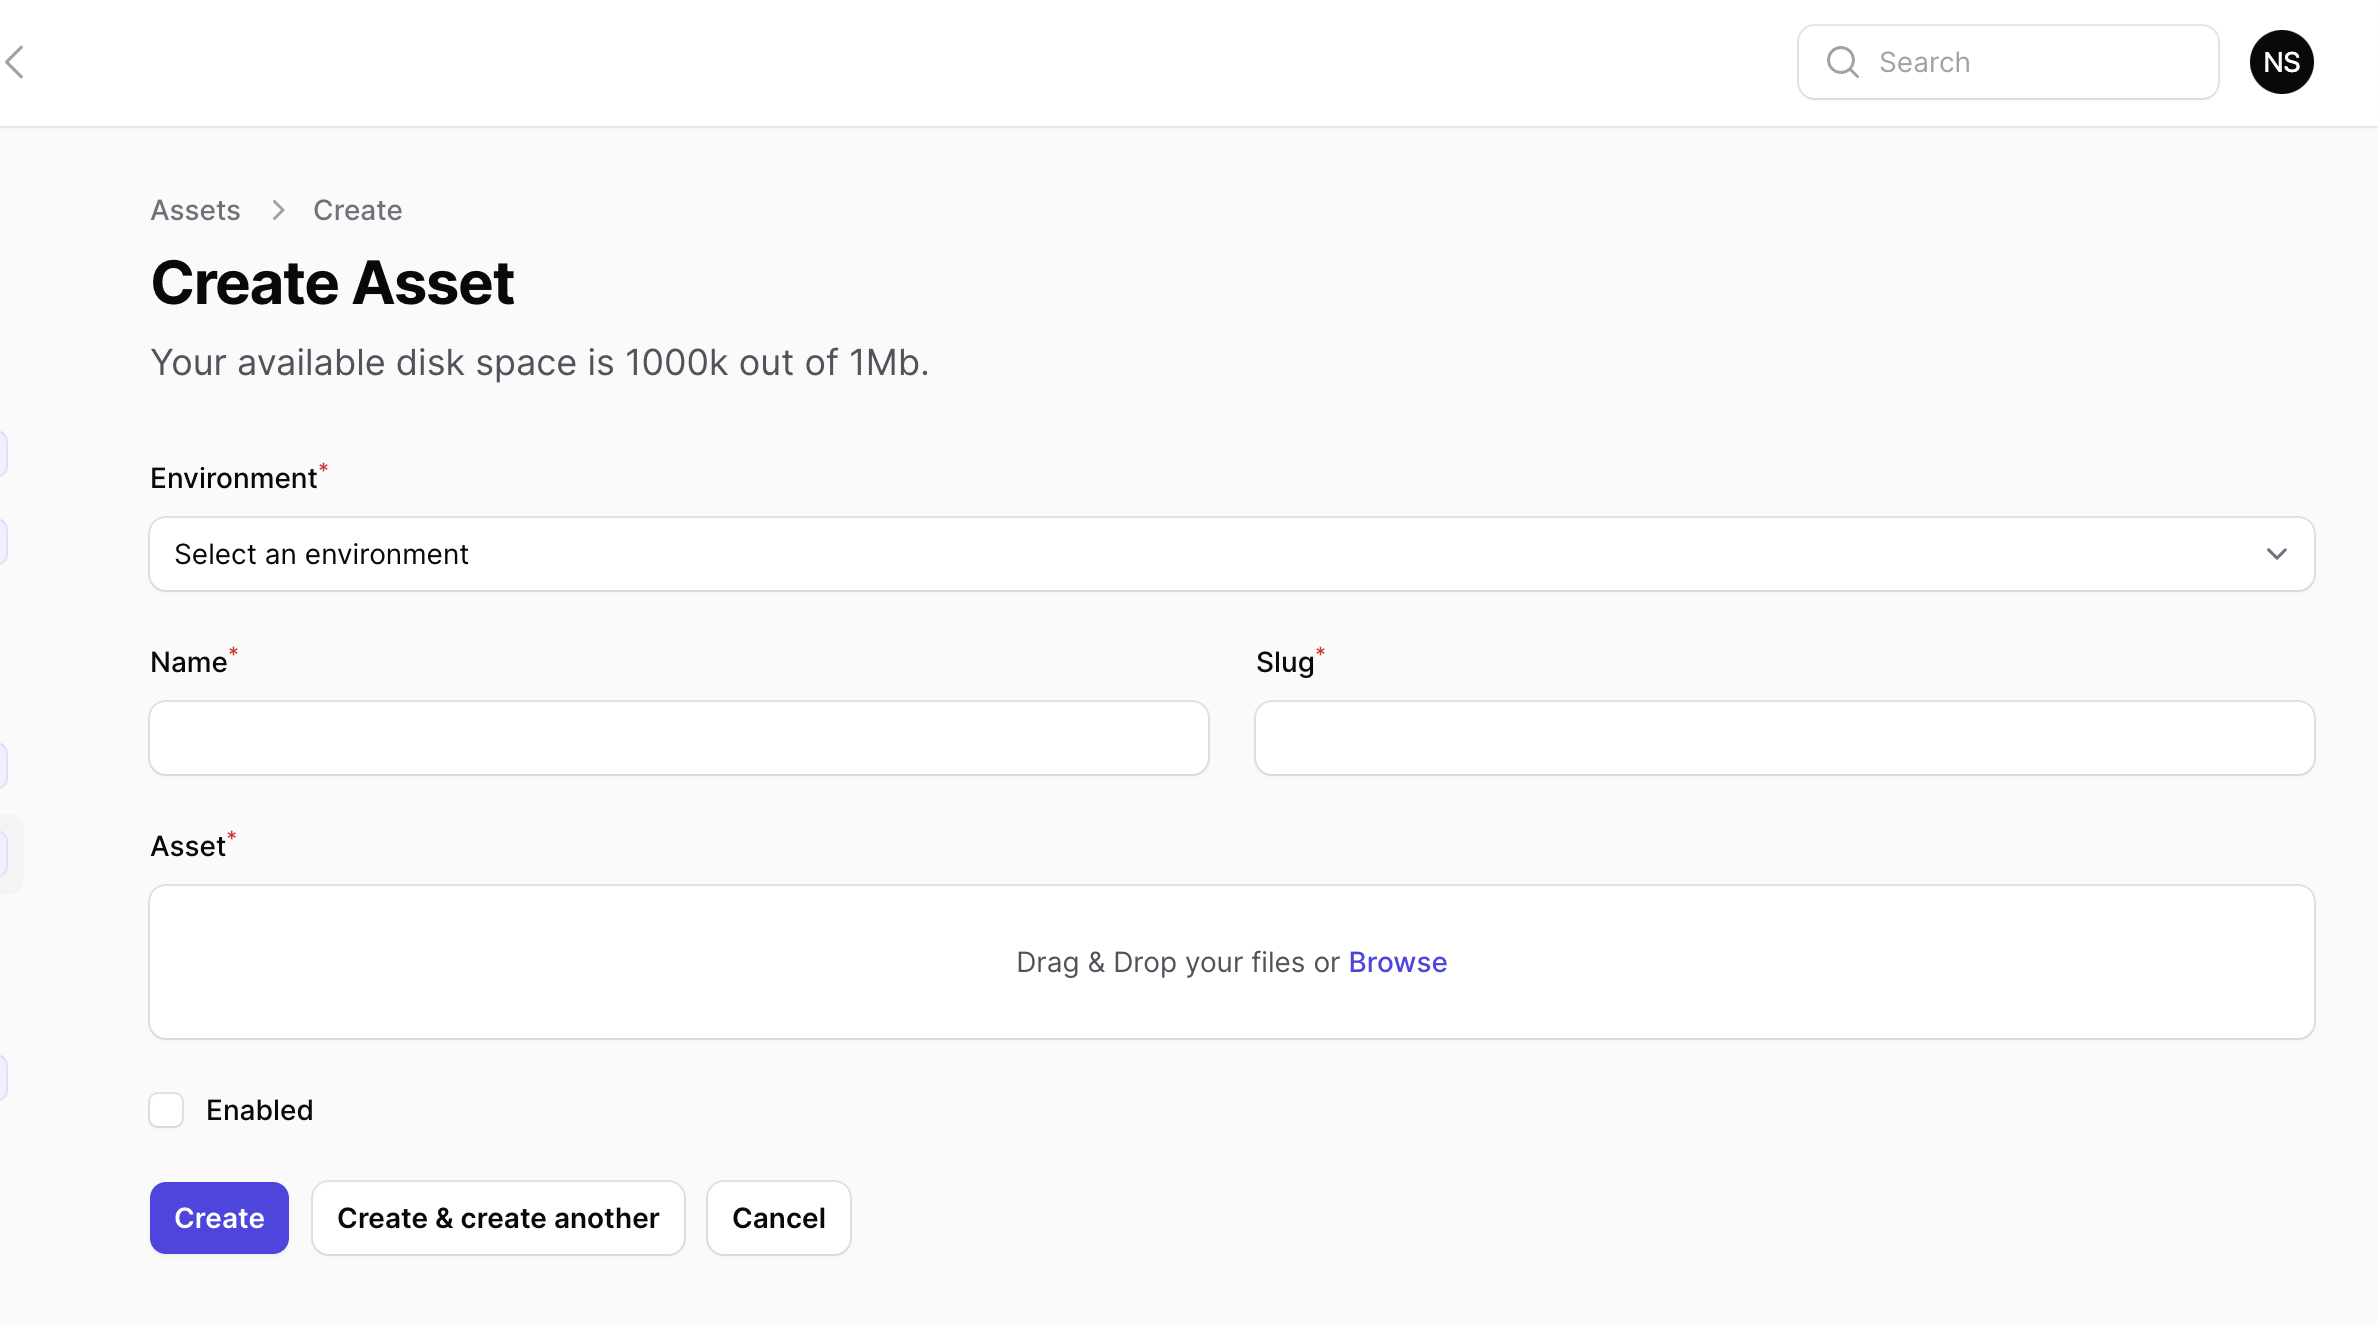
In the asset creation form, fill in the mandatory fields identified by a red asterisk and press the button "Create," or "Create & create another" to create multiple assets without leaving the form.
To upload your assets you can drag&drop the file in the upload area or click on it and choose the file to upload.
💡 Max file size
The maximum size for each assts you can upload is 1Mb.
Your total available space for you plan is shown as subheading of the creation form, or you can find it in directly in your dashboard.
💡 Supported file types
At the moment we support only these file types to be uploaded:
- text/csv
- application/msword
- application/vnd.openxmlformats-officedocument.wordprocessingml.document
- image/gif
- image/gif
- text/calendar
- image/jpeg
- application/json
- application/ld+json
- image/png
- image/webp
- application/pdf
- text/plain
- application/vnd.ms-excel
- application/vnd.openxmlformats-officedocument.spreadsheetml.sheet
- application/xml
- text/xml
- application/zip
- image/svg+xml
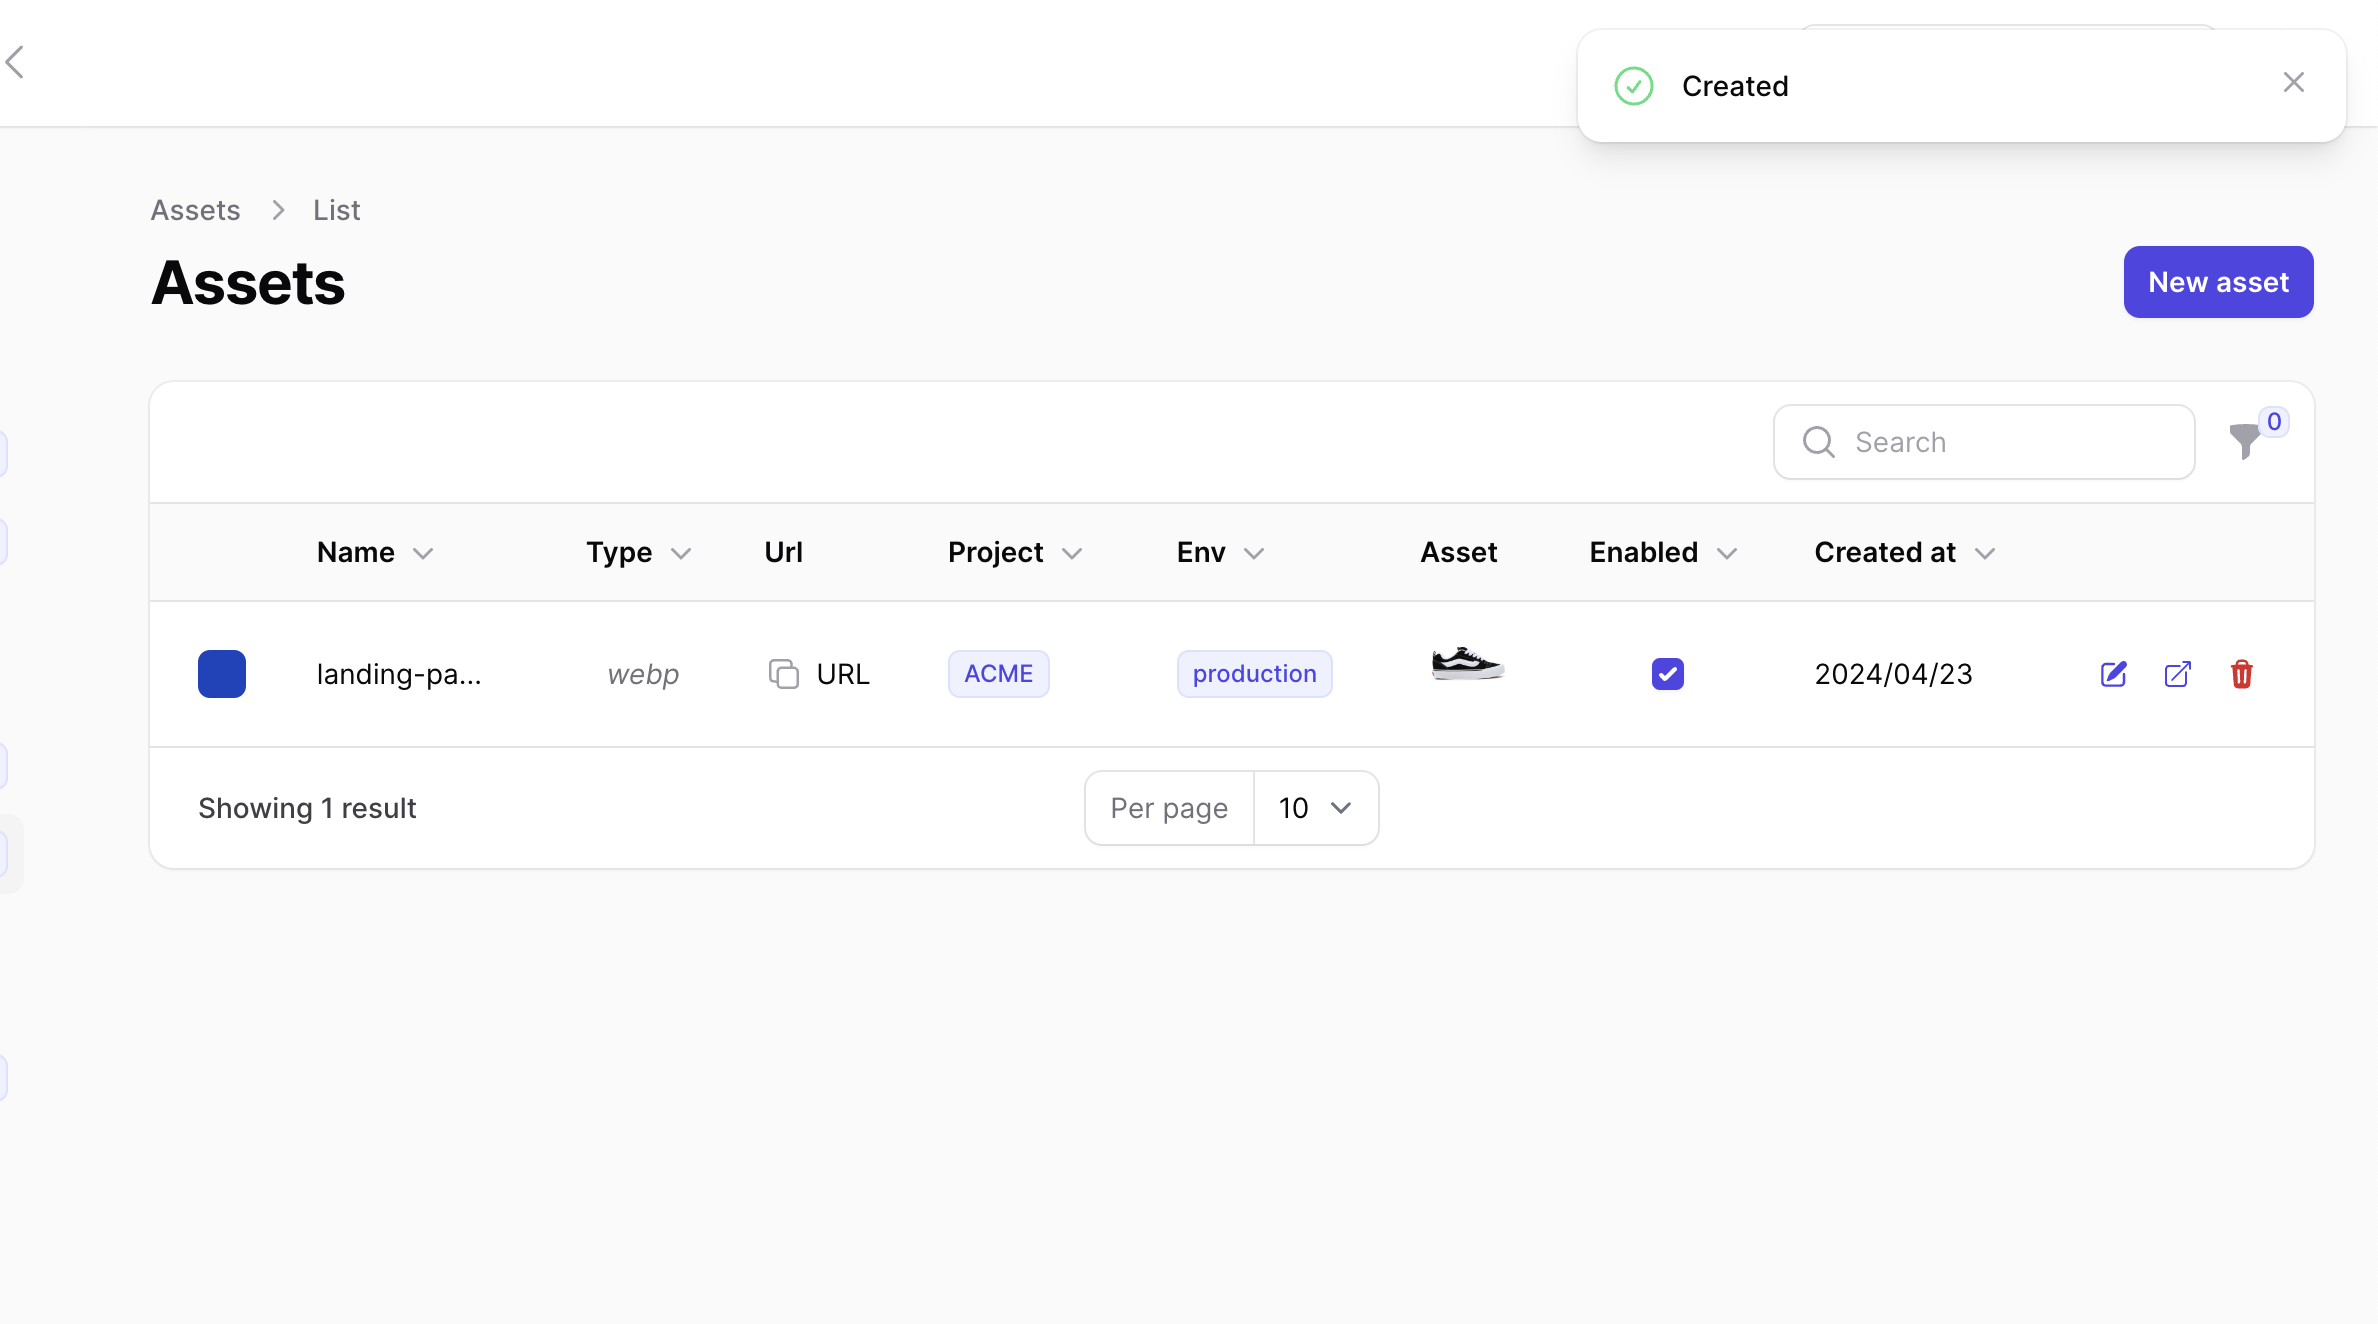
If the asset creation is successful, you will be redirected to the assets list with the "Created" notification.
Edit the asset
To edit an asset, click on the pencil icon next to the asset name, and you will be redirected to the editing page.
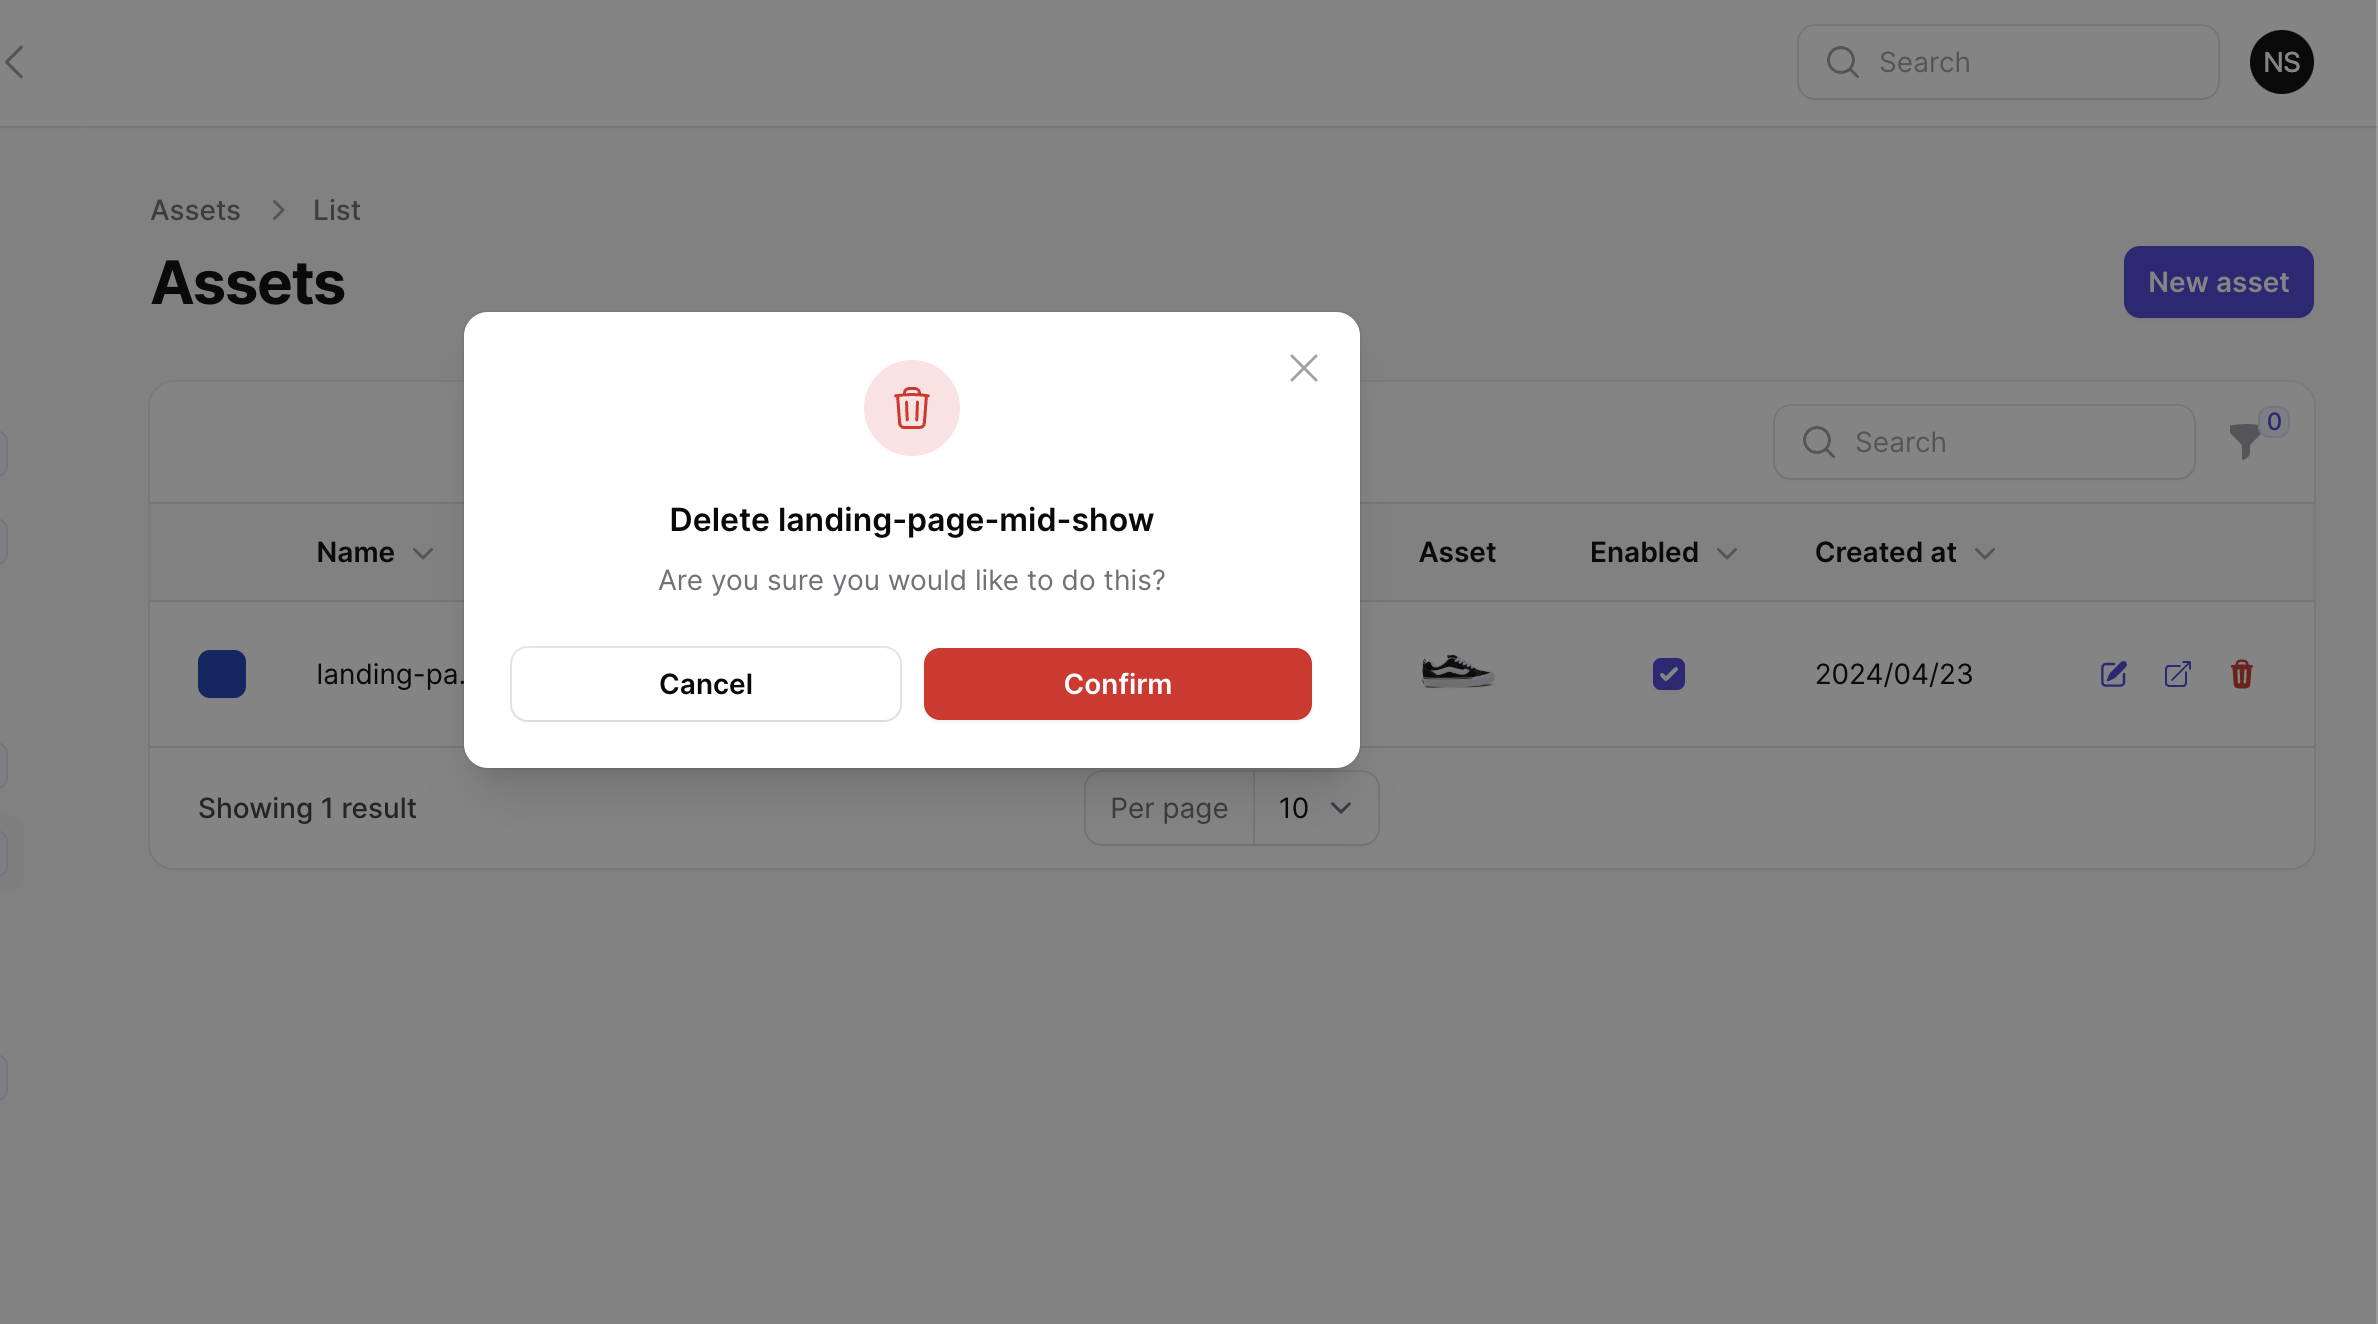
Delete the asset
To delete an asset, click on the red trash can icon. A notification will prompt you to confirm. By pressing the red button, the asset will be deleted.
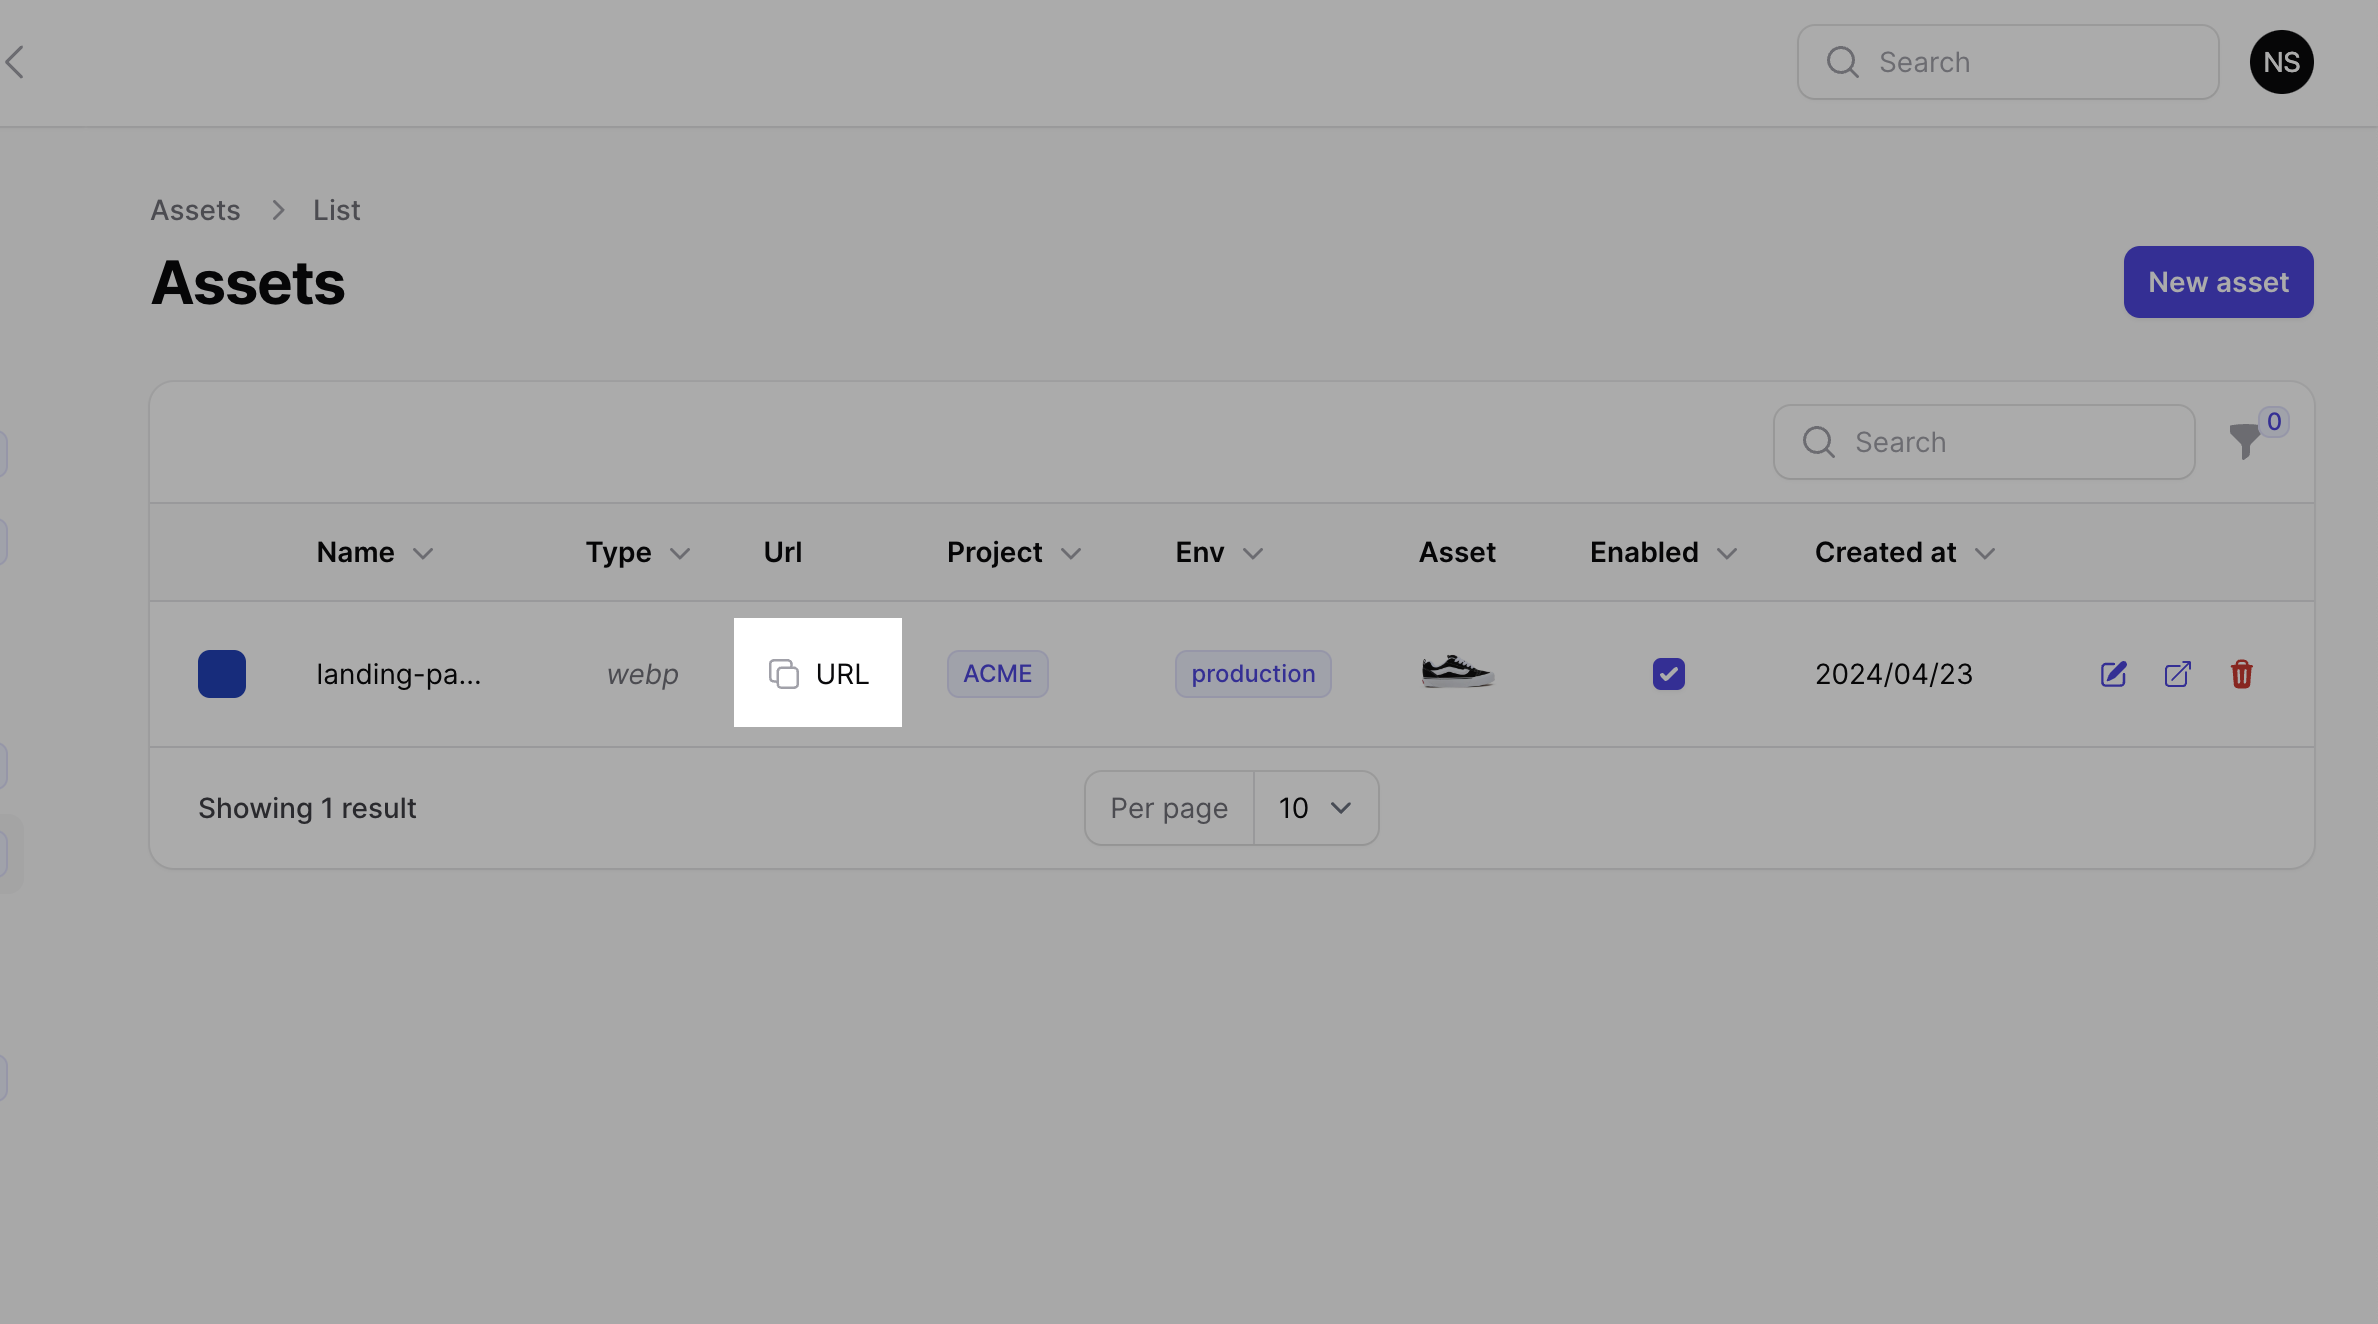
Copy the URL of you assets
After you have uploaded your assets, you can find the URL by clicking on the copy icon next to the URL label found on each row of every asset.
💡 Tip
You can copy the URL of your assets to reference them individually, or use them within a configuration of
type string, code,
or HTML.
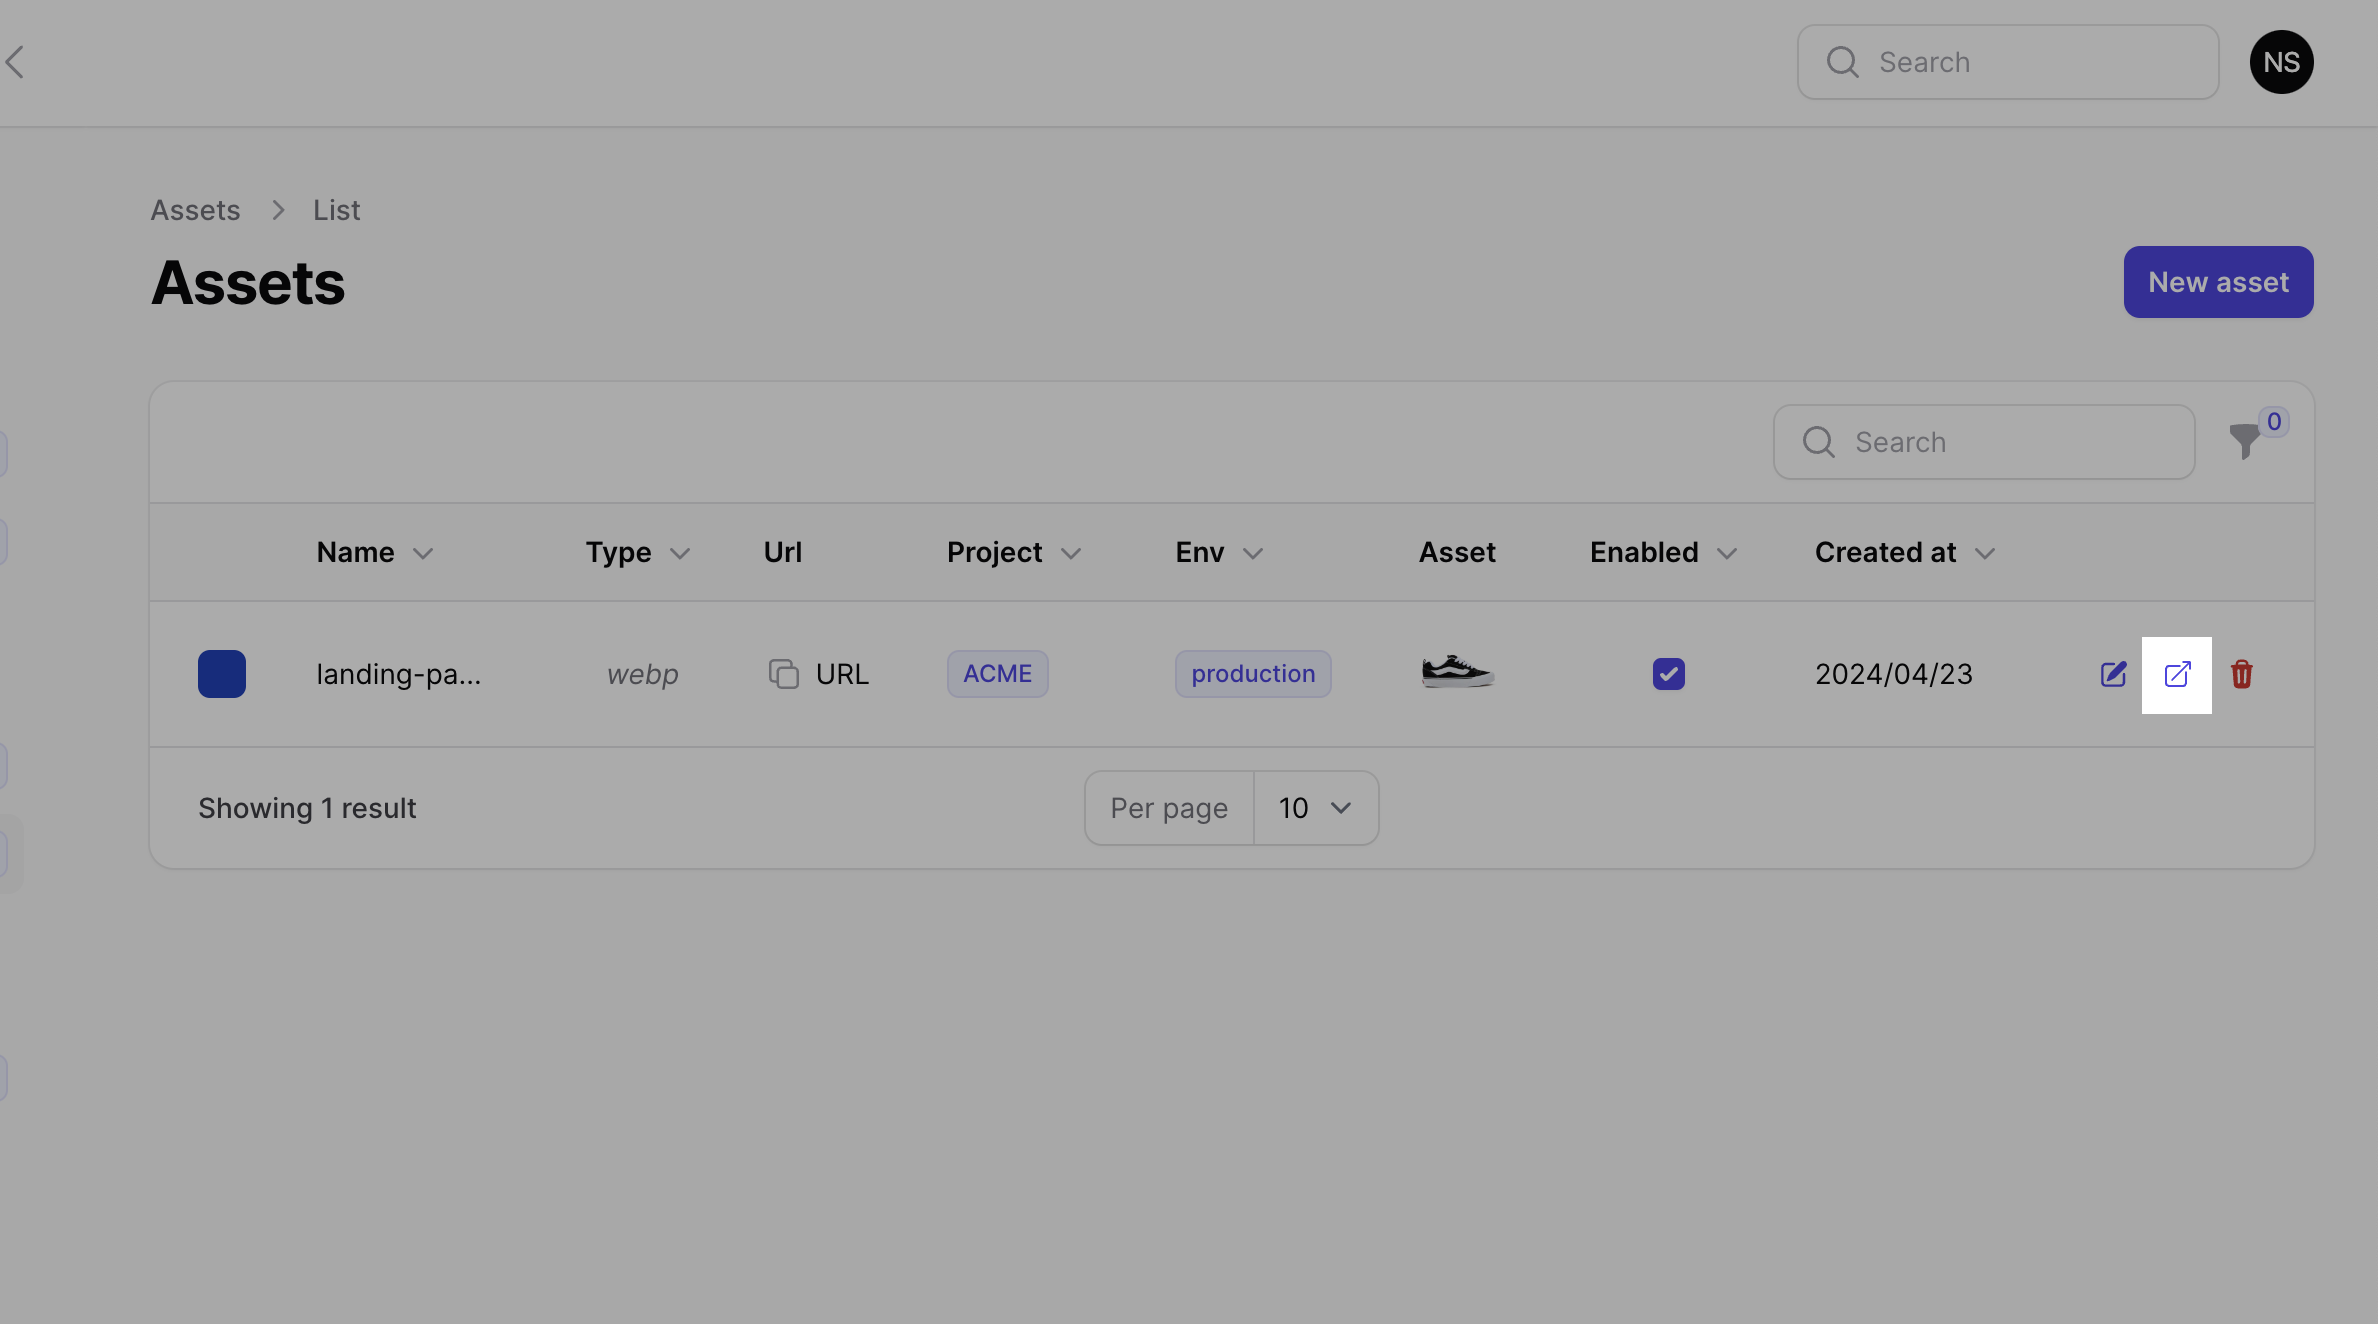
Copy your assets to another environment
Sometimes, when you define an asset in the development or staging environment, you need to copy it, for example, to the production environment.
This is just an example of how the "Copy to another environment" feature works.
This way, you don't need to manually create a new asset; instead, you can simply copy it to another environment with a
click.
Click on the highlighted button:
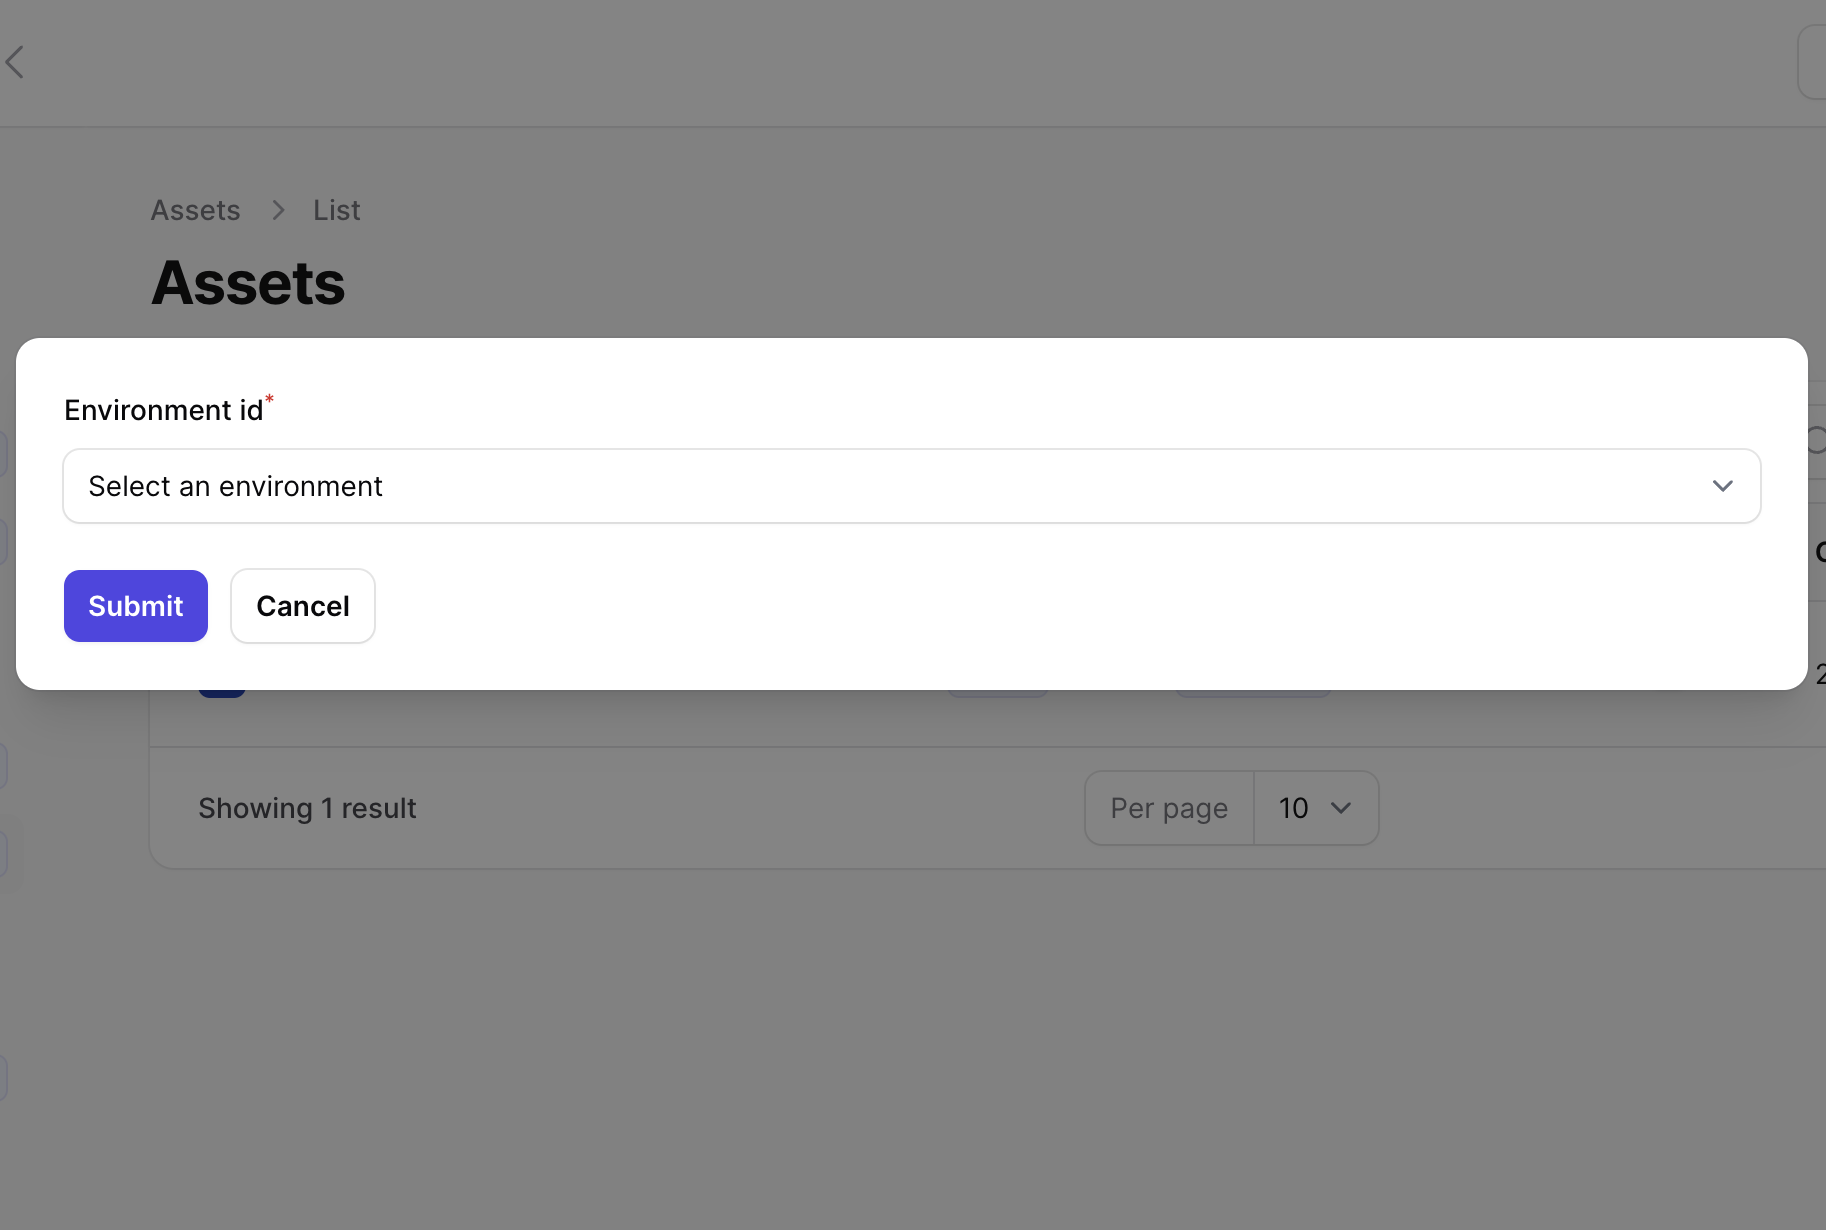
A modal will appear, prompting you to select the environment to which you want to copy your asset:
Powered by Doctave